
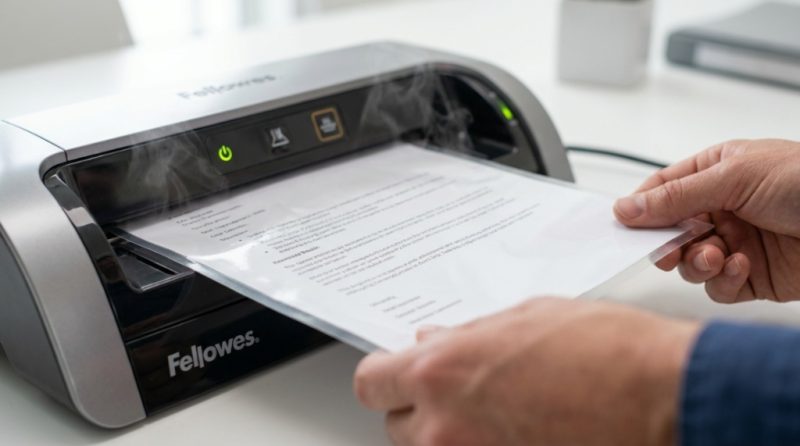
You’ve just printed a beautiful certificate, a valuable reference sheet, or a set of flashcards for your kids, and you want to protect them from spills, tears, and everyday wear. But with so many options on the shelf, picking the right thermal laminating pouches can feel surprisingly complicated. Thickness, finish, and size all matter more than you might think. Choosing the wrong type can lead to jams, cloudy results, or documents that curl and crack. This guide cuts through the confusion, explaining exactly how thermal lamination works, what the specifications mean, and how to choose the perfect pouch for your specific project—whether you’re a teacher, a home user, or an office manager.
Key Takeaways
- Thermal laminating pouches require heat and a laminator to activate an adhesive, unlike self-adhesive or cold-roll options.
- Pouch thickness (mil) directly impacts rigidity; use 3-mil for paper, 5-mil for frequent handling, and 7–10-mil for heavy-duty projects requiring stiffness.
- You must use the correct carrier size (e.g., a 9″ x 11.5″ carrier for 8.5″ x 11″ documents) to ensure a sealed border.
- Budget-friendly thermal pouches from trusted brands are ideal for high-volume tasks like classroom materials, while premium options offer enhanced clarity and durability.
- Clearing the carrier thickness setting on your machine is critical—setting it to the wrong carrier width will waste pouches and damage the document.
What Exactly Is a Thermal Laminating Pouch?
A thermal laminating pouch is a pre-sized, sealed plastic sleeve used to encapsulate and protect paper documents. The pouch is sealed on one end or along one side, forming a sleeve. To work correctly, it must be used with a thermal laminator. These pouches are constructed from a polyester film (PET) bonded to a thermal adhesive (usually ethylene vinyl acetate or EVA).
The Lamination Process
When the pouch passes through a heated laminator, the heat melts the adhesive, and the rollers apply pressure to bond the film to the paper. This process creates a permanent, airtight seal that protects against moisture, oil, fingerprints, and tearing. Unlike self-adhesive pouches, you only get one chance with a thermal pouch. Once the adhesive melts and cools, it cannot be undone. This makes precision alignment crucial before feeding the carrier through the machine.
Thermal vs. Cold Lamination
It is essential not to confuse thermal pouches with self-adhesive or cold laminating pouches. Cold pouches are sticky-backed and require no heat or machine (though some cold machines exist), making them safer for heat-sensitive items like photographs or crayon artwork. Thermal lamination provides a stronger, tighter bond and a more professional finish for standard paper printing, but it destroys heat-sensitive items. Knowing which type you have is essential because placing a thermal pouch in a cold machine (or vice versa) will simply ruin the pouch and the document.
How Thick Should Your Thermal Laminating Pouches Be?
The “thickness” of a laminating pouch is measured in mils (one-thousandth of an inch). This measurement refers to the thickness of the film after lamination—one side of the pouch. A 10-mil pouch actually consists of two layers that create a combined 10-mil thickness on the document.
| Pouch Thickness | Standard Use Case | Flexibility & Rigidity | Machinery Requirement |
|---|---|---|---|
| 3-mil | Low-impact items: menus, schedules, or basic signage. | Very thin, flexible, and prone to creasing if bent. | Can work with most low-heat, basic laminators. |
| 5-mil | General-purpose: classroom worksheets, instruction cards, and reference pages that need durability but slight flexibility. | Firm but still allows bending. Balances stiffness and feel. | Standard hobby/home laminators usually handle this well (240°F–300°F). |
| 7-mil | Professional documents: certificates, ID badges, and signs requiring a stiff, premium feel. | Rigid and photo-quality; difficult to bend significantly. | Requires heavier-duty rollers and consistent high heat to avoid air bubbles. |
| 10-mil | Heavy-duty protection: checklists for harsh environments, tool cards, and industrial labels. | Extremely rigid and “card-like.” Offers the strongest rigid protection. | Best used with a high-quality machine designed to handle thicker carriers. |
For general use, 3-mil and 5-mil are the most common. Standard copy paper (20 lb.) needs at least a 3-mil pouch to support its weight; thicker paper can warp if laminated with too-thin film. If you are creating signage to hang from a hook, you will likely need the stiffness of a 7- or 10-mil pouch to prevent curling, whereas a flashcard used briefly by adults might work well at 5-mil.
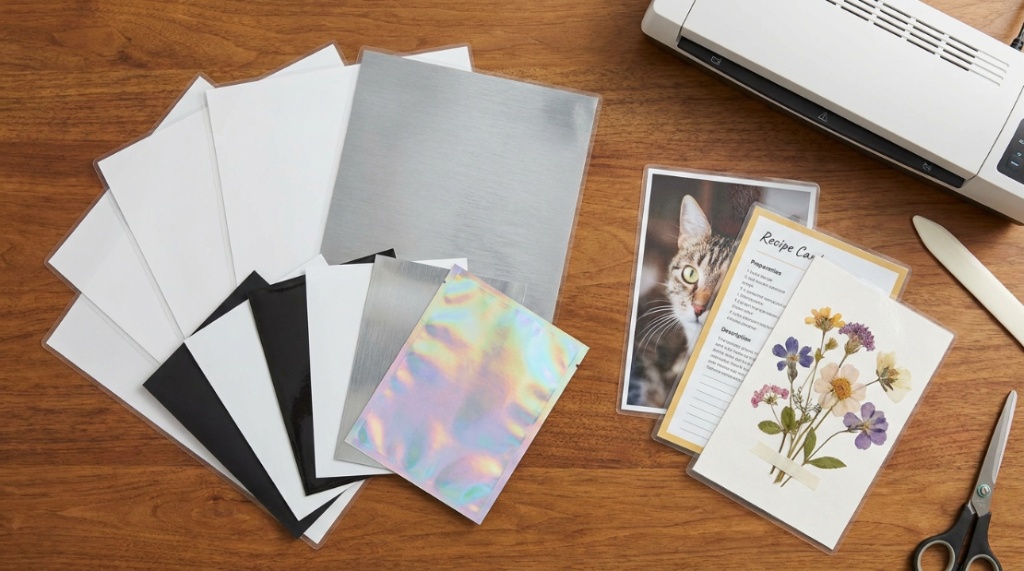
Choosing the Correct Pouch Size and Carrier Format
Purchasing a pouch with the correct dimensions is one of the most overlooked aspects of lamination. You need to buy a pouch that is slightly larger than the paper you intend to laminate. For example, to laminate a standard US letter document measuring 8.5″ x 11″, you need a carrier measuring 9″ x 11.5″. This extra 0.5″ on the width and height provides the margin where the adhesive fuses to itself, creating a seal.
Common Mistakes with Sizing
Many users attempt to use a “just-fit” pouch (like a 9″ x 11.5″ sheet for a 9″ x 11″ document). If the paper touches the sealed edge or the cut edge of the pouch, you risk getting adhesive on the laminator rollers or leaving an unsealed crack where water can enter. Cutting the pouch alters the inner bag and leaves the cut edge open, allowing moisture and air to enter later.
If your document has multiple items (like a sheet of business cards), cut them out after lamination, leaving a 3mm–5mm border around each item. This border seals the item fully, preventing delamination.
Glossy vs. Matte vs. Thermal Thermal Laminating Pouches
Beyond the basic clear pouch, there is a significant visual difference between finishes. While standard clear/glossy pouches enhance the contrast and brightness of the colors on the page, they also create glare under direct light. In this case, matte pouches are the superior choice. They reduce reflections by up to 80% and also provide a surface that accepts writing—a feature ideal for game cards or reusable checklists where you need to write with a dry-erase marker. However, matte pouches generally cost more and slightly dull the vibrancy of the underlying print compared to gloss.
You may also see “soft-touch” or “velvet” finishes, which feel like rubberized plastic. These are less common and usually found in specialized presentation sheets. For standard strength and archival quality, clear gloss is the baseline standard.
Are All Pouches Compatible with All Laminators?
Generally, thermal laminating pouches are produced to a universal standard size and shape, meaning they fit virtually any standard thermal laminator. However, the temperature of your machine must be matched to the pouch type. These carriers are manufactured with specific melting points and have to be heat-adjusted to the machine you are using.
If your prints come out cloudy or look frosted, the heat is too low, and the adhesive hasn’t turned clear. If they come out with severe waviness or “alligator skin” texture, the heat is too high, causing the PET film to shrink too quickly. Most office-grade laminators have a dial setting between 3-mil and 10-mil. When using more affordable, high-volume thermal laminating pouches in a busy school or office, it is wise to test a single pouch first with your specific machine to ensure the temperature settings align before committing a large batch of documents to the machine.
Why Quality and Brand Matter for Commercial Users
When buying for an office, using inferior, unbranded pouches often leads to downtime. Cheap pouches are manufactured with a thinner layer of less-consistent adhesive. This causes wrinkles, frustrating feed errors, and “blowouts”—where the adhesive melts out of the sides and gums up your expensive rollers. High-quality pouches are engineered with precision-cut edges, which feed through the laminator rollers straightly. They are also usually guaranteed to be “jam-proof” if used correctly.
For a multi-use setting like a school, durability is far more important than initial cost. A cheap 3-mil pouch might crack after being folded in a binder a few times, whereas a quality 5-mil or 7-mil pouch will survive a year of being thrown into backpacks. Even when buying in bulk, consider the “pouch yield” relative to the amount of waste you produce. Step-by-Step Guide to Laminating Without Bubbles
Laminating is simple, but the margin for error is small. Follow these steps to get a crisp, professional result every time.
- Pre-heat: Turn on your laminator and wait for the indicator light to signal it is ready. Do not rush this; a cold machine drags the pouch through without fully melting the adhesive, leaving it cloudy.
- Warm-up Pouch: If your machine has been sitting for a long time or is new, run a waste pouch through it first to ensure even heat distribution.
- Prepare the Pouch: Insert the document into the pouch. Ensure it is centered and sits neatly inside the sealed pocket. The document should not slide around when you gently turn the pouch upside down.
- Align the Sealed Edge: Place the sealed edge of the pouch into the feed slot first. This prevents paper from catching or jamming in the rollers.
- Feed Straight and Steady: Guide the pouch into the tray. Do not push it or pull it once the rollers grab it; let the machine pull it through at its natural speed. Pulling generally causes slight elongation, leading to distorted images on the plastic.
- Cool Down Flat: Place the hot laminated sheet on a flat surface to cool. Do not curl it in your hands or place heavy books on top of it while it is still hot—this can create permanent wrinkles or press the plastic into a concave shape.
The Cost-Effectiveness of Bulk Purchasing
If you are laminating regularly, the cost-per-sheet drops significantly in bulk. A pack of 10 pouches might cost $10, whereas a pack of 100 might cost $45—even though you are getting 10 times the product, you are paying less than five times the price. This makes bulk boxes attractive for classrooms and busy offices. But be careful: once you open a pack of pouches, they absorb moisture from the air. The adhesive is susceptible to humidity. If you don’t use them quickly, they can warp or stick during lamination. Store open boxes in a cool, dry, sealed Ziploc bag to guarantee they remain flat and dry. Never store laminating pouches near a heater or in direct sunlight, as this can cause the edges to pre-seal. To keep sensitive documents completely unreadable before or after the sealing process, make sure to find high-security paper shredders in california.
Eco-Friendly and Archival Considerations
Lamination is not recyclable because the film is a composite material glued permanently to the paper. If you are laminating documents for archival purposes, check if the pouch is manufactured without “acid” or is “archival-safe.” Standard pouch adhesives might contain chemicals that yellow or cause the paper inside to degrade over many decades. If you are preserving significant documents, such as historical records or diplomas, look for pouches explicitly marked “OHP” or “photo-safe.” These are engineered to be archival quality. For daily use or schoolwork, general-purpose pouches will look great for years but may yellow after a decade in direct sunlight. Ultraviolet (UV) resistant pouches are available specifically for signs displayed in windows to prevent the print inside from fading.
Frequently Asked Questions
Can you laminate a document that is smaller than the pouch?
Yes. However, if the document is significantly smaller, it will create a large, stiff border of plastic around it, which can look unattractive and impede flexibility. It is better to trim the document or use a smaller carrier.
Why is my laminating pouch coming out cloudy?
Cloudiness almost always indicates that the temperature was too low. The adhesive has not melted enough to become fully transparent. If the carrier is cloudy and you have the correct heat setting, try running it through the machine a second time. If it is already cool, it may need a second pass on a higher setting to clear up.
Can I cut a thermal laminating pouch to a smaller size?
Yes, you can trim the outside of a laminated sheet to get a smaller finished size, but you must use a sealed-edge pouch without cutting into the document. For example, if you laminate a 4″ x 6″ card inside a 9″ x 11.5″ pouch, you must cut around the 4″ x 6″ card, leaving a small border, which seals the open sides. Do not cut the pouch before lamination to fit a document—you will lose the sealed edge and the adhesive will leak.
Why do sheets jam in my laminator?
If the pouch enters the rollers at an angle, it can twist. Ensure the pouch is square with the feed slot. Also, do not hand-feed sheets with curling edges; flatten them first. If the machine has a release lever, always release the pressure and wait for the machine to cool before trying to remove a jammed pouch, as pulling on a hot pouch can tear the rollers.
Are thermal laminating pouches waterproof?
Yes, once sealed, the document is completely encased in plastic. The water cannot penetrate through the melted seal line. However, if the pouch is punctured or a corner is cut sharply, moisture can enter. The paper inside will get wet if there is any breach, as the paper is trapped inside the plastic and cannot dry.
What is the difference between 5 mil and 10 mil if I am just protecting paper?
Protection from liquid is identical; the difference is physical rigidity. A 5-mil pouch is flexible and can be bent easily for storing in a binder. A 10-mil pouch is stiff like a plastic credit card. For sheets you handle frequently and drop, the 10-mil provides more “armor,” but it tends to crack if bent at the fold line repeatedly.
Conclusion
Selecting the right thermal laminating pouches doesn’t need to be intimidating. The key ingredients for success are matching the pouch thickness (mil) to the weight of your document, ensuring you have the correct carrier size to create a sealed border, and confirming that your laminator has the heat capacity to properly melt the adhesive. Whether you choose the flexibility of a 3-mil sheet for low-stakes documents or the rigid armor of a 10-mil sheet for rugged signage, the lamination process will extend the life of your work and keep your materials looking professional. Take the time to buy a quality product that suits your volume and usage, and you’ll avoid wasted time and money on jams and subpar results. Your documents, notes, and signs deserve protection that matches the effort you put into creating them.
